At tonight’s club meeting, we watched this video on the use of PhotobookShop software prepared by Greg:
https://drive.google.com/file/d/1-KshwhaX7M1n-kMd1qoK1-soU2NktdQf/view?usp=share_link
Create an Account
• Go to PhotobookShop website (www.photobookshop.com.au)
• Join up
• Download the Desktop Designer by clicking the Download Our Software link at the very bottom of page or this direct link: www.photobookshop.com.au/index/download
• Choose the PC Version or MAC Version of the Desktop Designer as required.
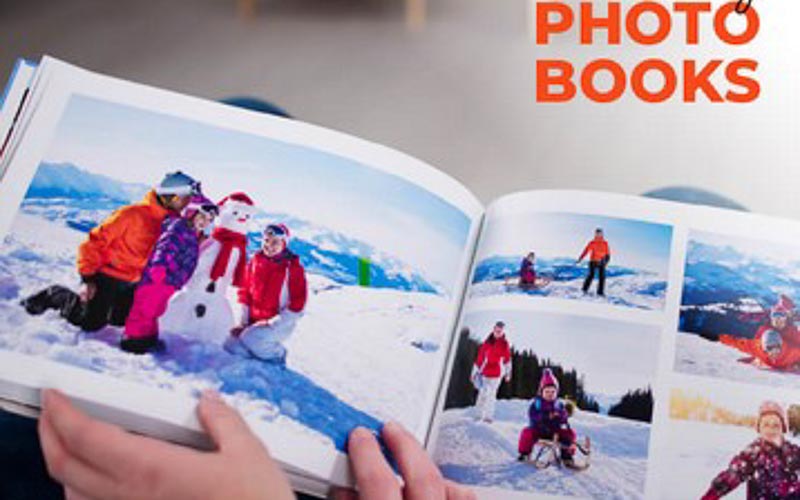
Start your photobook
Create a blank book
• Open the software
• (Click NEW to Create a New project)
• Choose Category – Photobooks – Standard Collections
• Choose Product Type – Standard Photobook Collection
• Choose Product – Standard 20cm x 20cm Softcover Photobook
• You may also be able to select 20 pages here…
• Click Create Now
• Skip Wizard / Autoflow Assistant. Go Straight to the Editor
• Give your project a name
• The blank 20 or 24 page photobook will appear.
• If 24 pages, delete four pages (2 spreads) so that you have only 20 pages.
Add pictures
• Click on the + icon on the left panel (it is easiest if you have already collated your chosen images into a single folder.)
• Click the cog pulldown menu to adjust sort (eg by picture usage to make used images drop to the bottom of the list)
Edit your photobook cover and first page
Using the bottom panel
1. You can use the Page Styles tab on the bottom to apply a template your cover and pages, then delete or adjust the sizes and locations of the picture boxes to suit.
2. Use the Backgrounds tab if you wish to use add colour and textures to your pages
3. Use the Frames tab if you want that effect. It might work well on the cover, but simple white or black borders might be all you need on your pages (see below).
4. Use the Masks and Scrapbook tabs if you wish to add some fun elements but do so judiciously as they can take the focus away from your photos.
The Right Panel:
• You can adjust the drop shadow and border styles of picture boxes
• Click the T icon to add text to your page and customise the format using the options on the panel.
Create subsequent pages
There are many options, such as
• Copy elements from previous pages, and paste them in (Ctrl+C to copy Ctrl+V to paste)
• Add pictures by dragging directly from the Pictures panel on the left
• Adjust your images as needed (click “Constrain Portions” option on the right panel ruler tab if you want to maintain the proportion of the picture box)
• Double click on the image to adjust what displays within the picture box
Tips:
• Be consistent with your design
o If you use a 5mm white border, apply it to all images (shift click to select multiple images then set the border)
o Use a consistent font and size for captions throughout your book.
• If you want full page image, ensure the picture box extends a little past the dashed red “print safe” line
• Remember to click Save regularly as you go!
Finish your book
• Click Preview (an eye / green play button) to see your finished book
• Click Add To Cart
• Error messages indicate if a box is empty or you’ve enlarged an image so much it will be grainy. You can go back to check the listed pages if you need to make adjustments.
• Click Continue to proceed to cart
• Check settings are OK, then click Checkout Now
• Agree to disclaimer and click Start
• This opens the PhotobookShop site. Log into your account if not already logged in.
• Click Proceed to Cart
• Click Checkout
• Choose STANDARD processing time and Standard Premium Delivery. Click Continue
• Enter Voucher code and click APPLY. Then your TOTAL should be $0
Your images will then upload to the PhotobookShop site for printing.
Key Dates
30th April: Pay the club for your voucher
30th September: Submit your book to PhotobookShop for printing
14th October: Provide printed books to Greg at the meeting
11th November: Judging.